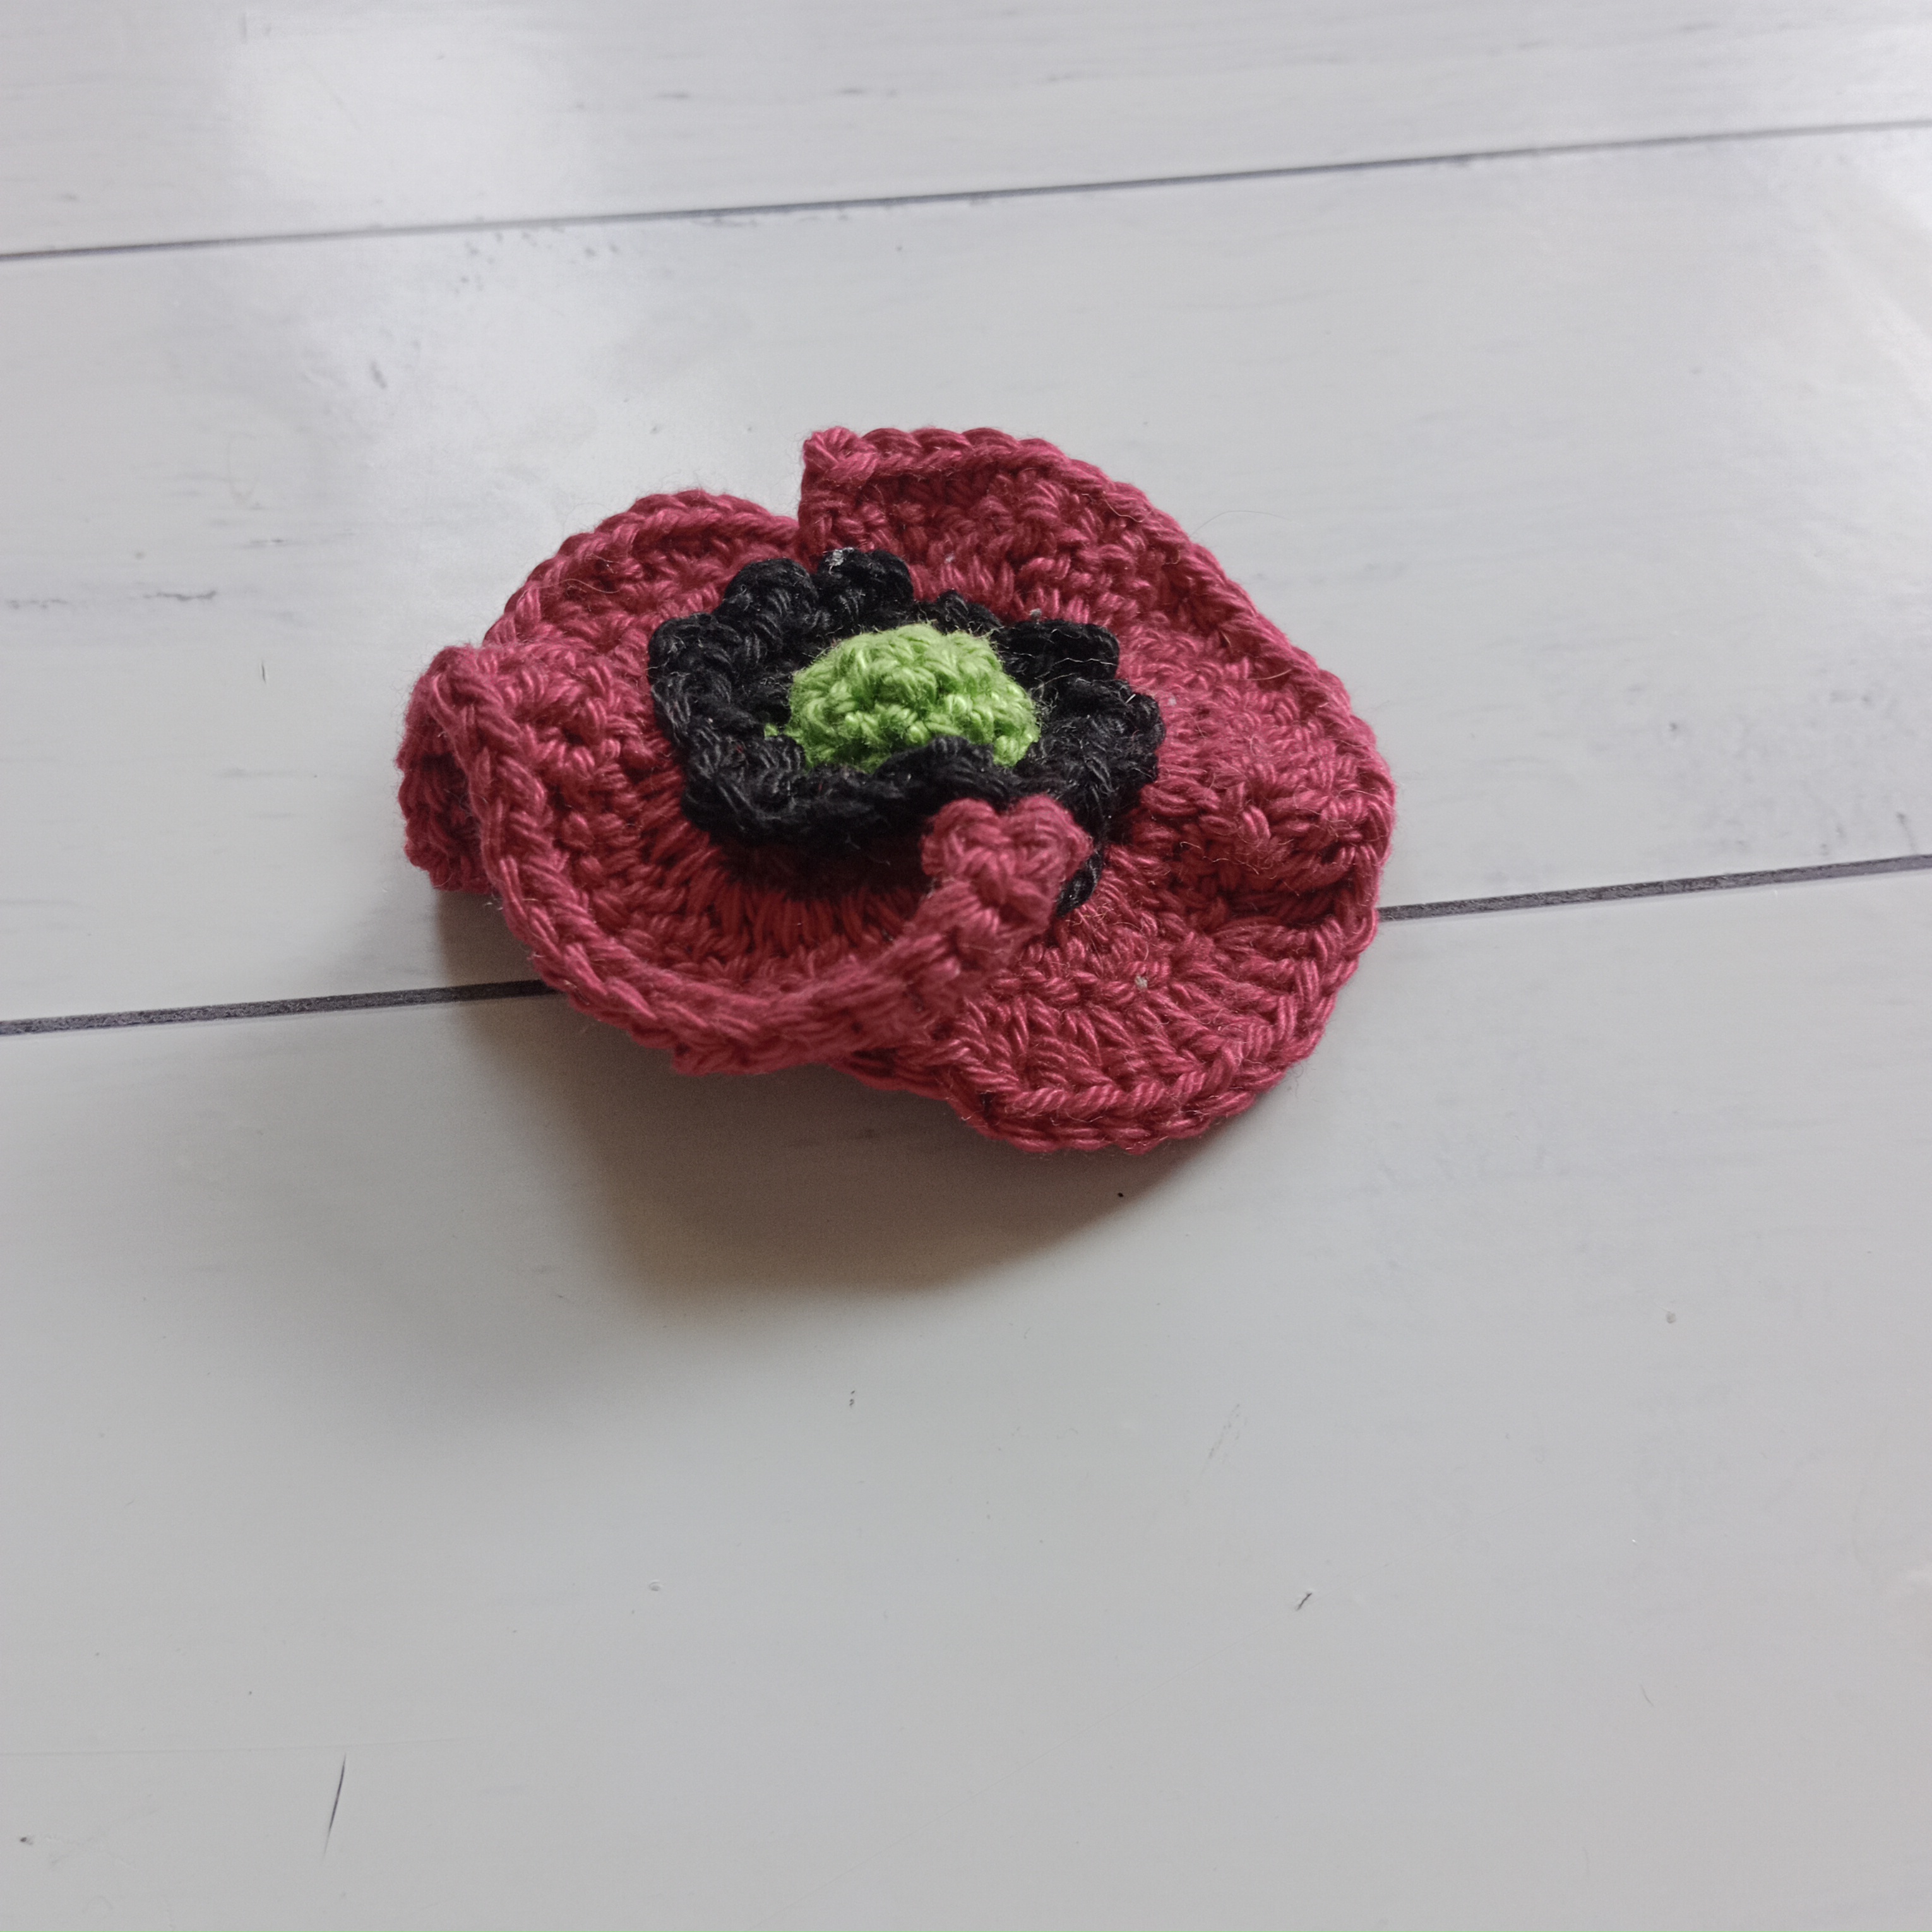

Last year I published a square for a CAL, called the Buttercup Square. I have been thinking about making a hexagon version... and here it is!

It has the same 3D floral centre motif, then six corners are created in row 8, instead of four.
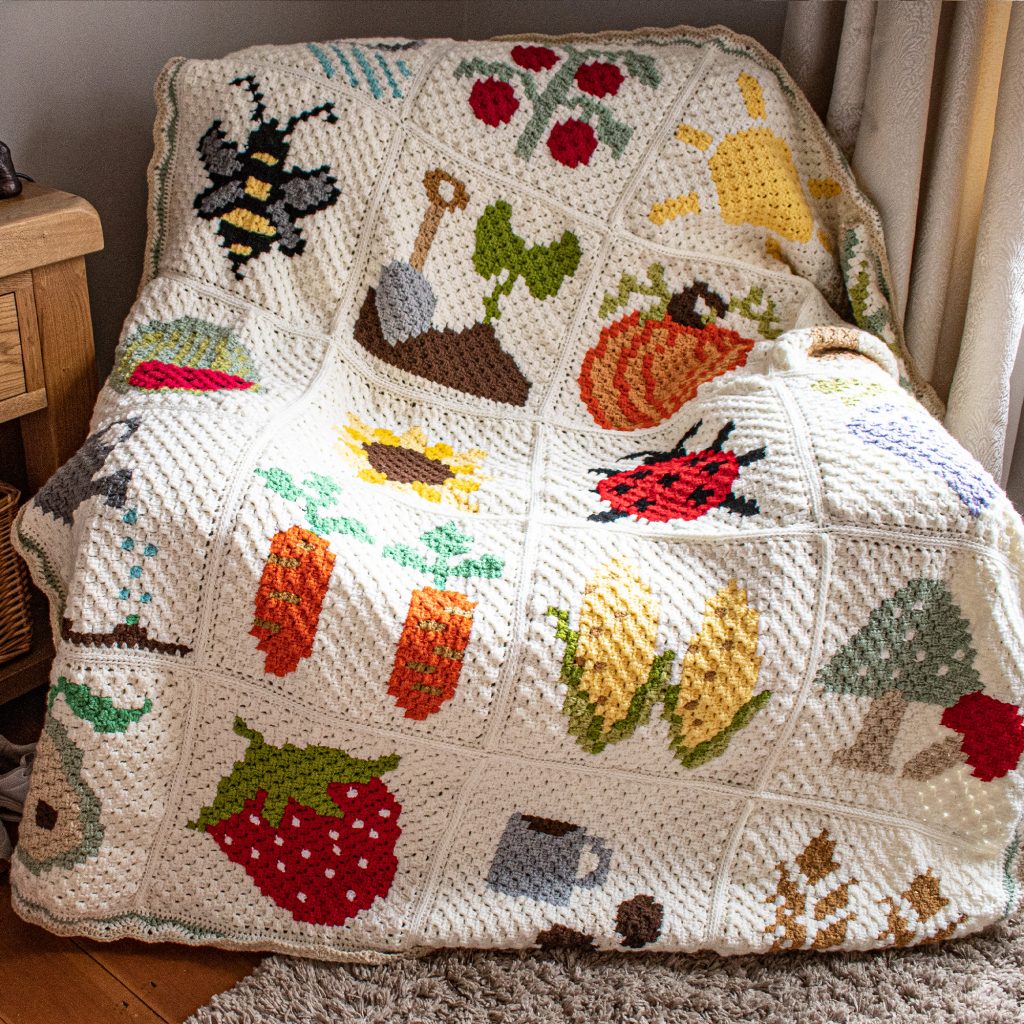
Hexagons have an added bonus of two ways of fitting them together, which I'll get to at the end of this blog post.
I have stuck with my buttercup yellow colour, but this time, I have used a 5mm hook and a cotton/nylon blend DK/8ply weight, making my hexagons 25 cm wide. As with any motif, yarn weight, and hook size can be altered to your preferences!
Reminder or the square version

Abbreviations
ch - chain
chsp - chain space
sc - single crochet
dc - double crochet
2dc-cl - 2dc cluster - see below
BP - back post
sk - skip
st/s - stitch/es
YO - yarn over
Special stitches
2dc-cl – 2 dc worked together to form 1 st
Method: *YO, hook into next st, pull up loop, YO, pull hook through 2 loops on hook, rep from *, YO, pull hook through 3 loops on hook
BPsc - back post single crochet
Method: Hook around next post (from back to front) YO, pull up loop, YO, pull hook through both loops on hook.

Pattern
Make a magic ring.
R1: ch 3 (counts as dc) 11dc, sl st to close (12dc)
R2: ch 4 (counts as 1dc, 1ch) *1dc, 1ch, into next st, rep from * around, sl st to 3rd ch to join (12dc, 12ch)
R3: ch 3, dc in same st (counts as 2dc-cl), 2dc-cl in same st, ch1, *(2x2dc-cl, ch1) in next st, rep from * around, sl st to 1st st to join (24 2dc-cl, 12 ch)
R4: sl st in next 2dc-cl, *(sc in next chsp, ch3) rep from * around, sl st to 1st sc to join. (12sc, 36ch)
R5: sl st into next chsp, 3ch (counts as dc) 3dc in same chsp, ch1, *(4dc in next chsp, ch1) rep from * around, sc join to 1st st. (48dc, 12ch)
R6: ch 1, sc in chsp just made, sk 2 dc, 5dc in next st (3rd dc in cluster) *sc in next chsp, sk 2 dc, 5dc in next st, rep from *, sl st join (60 dc, 12 sc)
R7: ch 1, BPsc around sc, *6ch, *BPsc around next sc, rep from *10 times, ch3, dc join in 1st st. (12BPsc, 72 ch)
R8: ch3, 2dc in chsp, *(ch3, sc in next chsp, ch3), (3dc, 2ch, 3dc) in next chsp, rep from *5 times, (ch3, sc in next chsp, ch3), (3dc, 2ch) in next chsp, sl st join to 1st st. (48 dc, 6 sc)
R9: sl st in next dc, sl st in next chsp, 3ch (counts as dc), (2dc, ch) in same chsp, (3dc, ch) in next chsp, *(3dc, 2ch, 3dc, ch) in next chsp) (3dc, ch) in next chsp, twice, rep from * 4 times, sl st join to 1st st (96 dc, 27 ch)
R10: ch 1, sl st in same st, sc into each st and ch around (123 sc)
Fasten off and weave in ends.
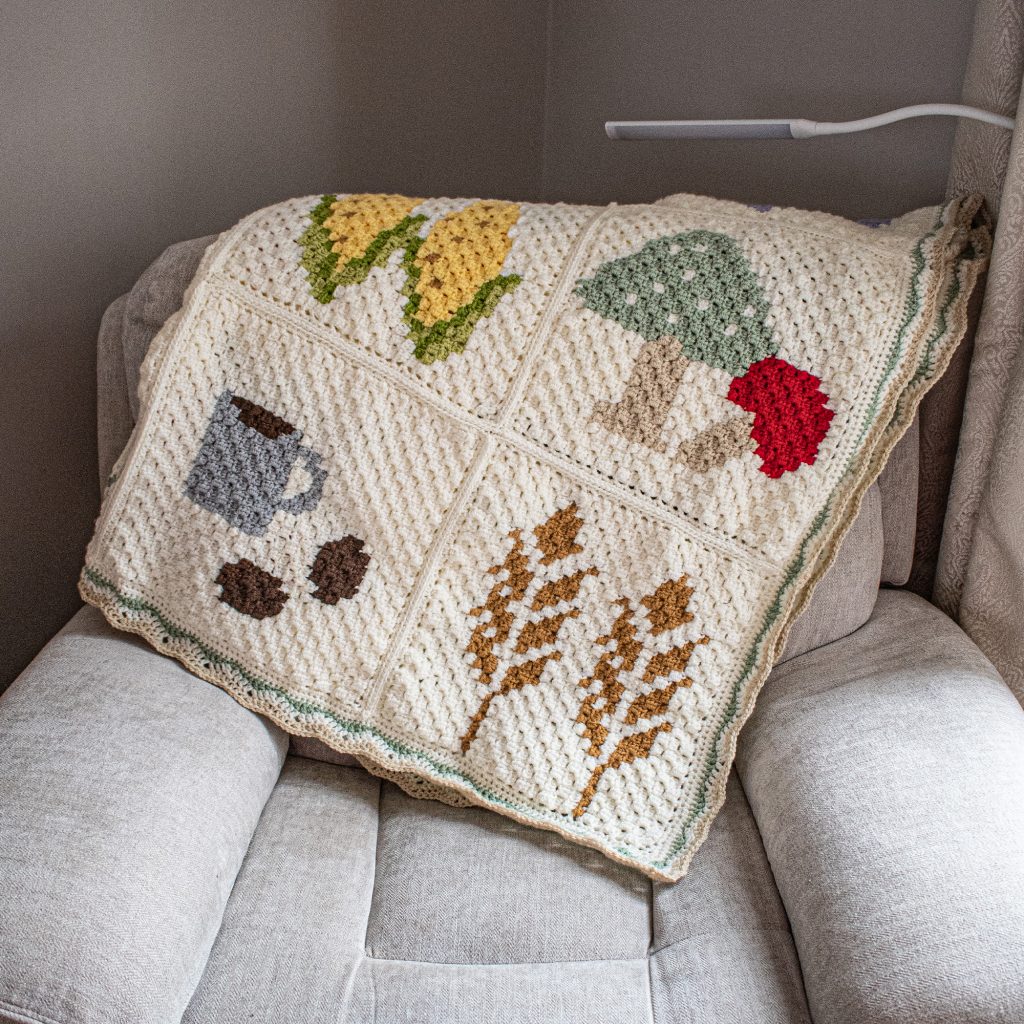
Joining your motifs
As previously mentioned there are two ways to join your motifs. (Note, you can use any joining method you like) I like to think of this version as a solid fill.


Copyright © 2023 Emma Wilkinson Designs All Rights Reserved No restrictions are placed on finished items made with this pattern, however, the pattern may not be resold or copied in any form. Pictures remain the property of Emma Wilkinson Designs